What to do with finished coloring sheets??

I recently participated in a coloring contest with a group of friends on Facebook. I had such a great time coloring. Coloring is such a therapeutic resource! It is so relaxing for me. I always think of how much I enjoy to create things, the feeling I have when I have completed it. I consider how the Father felt each time He said it was good. I mean we are created in His image so surely he has given us creativity.
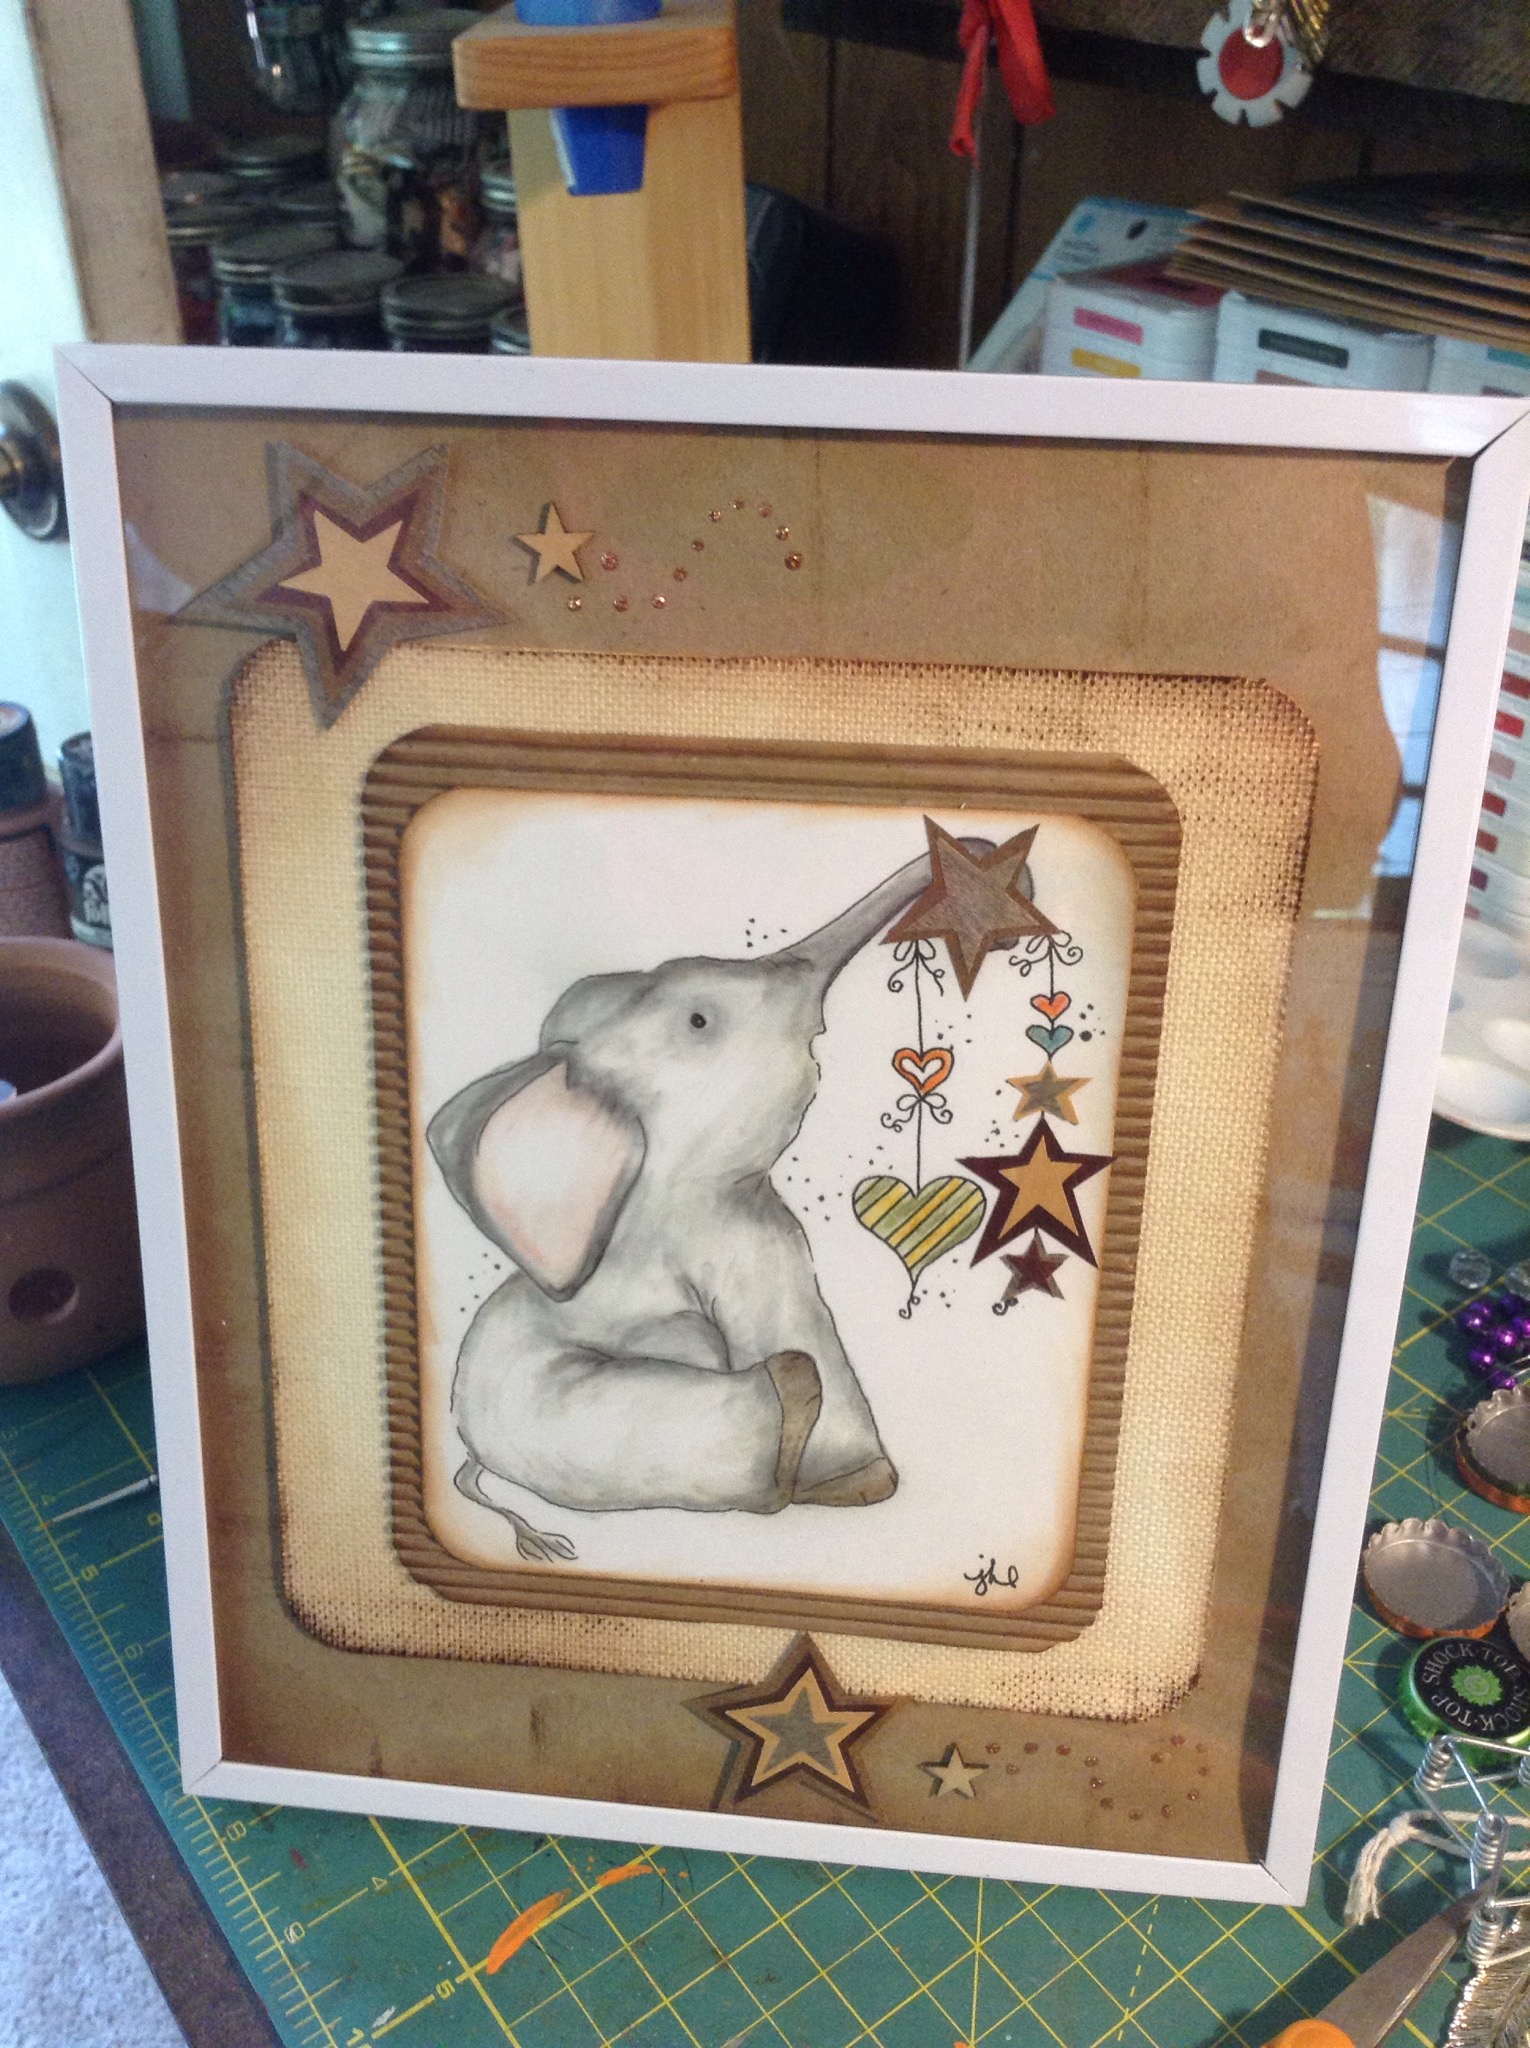
I used my Shin Han markers to color my image, and a gold sharpie. I then used a gold gel pen to accent specific areas in hopes that it would give my image depth. This is my completed image.

IMG_0664.JPG

I was pleased with the finished product… But what do I do with it next? I hated to throw it away. It seemed like I wouldn’t be a good steward of my time if I threw it away. So I decided to cut it up and use it to create cards!

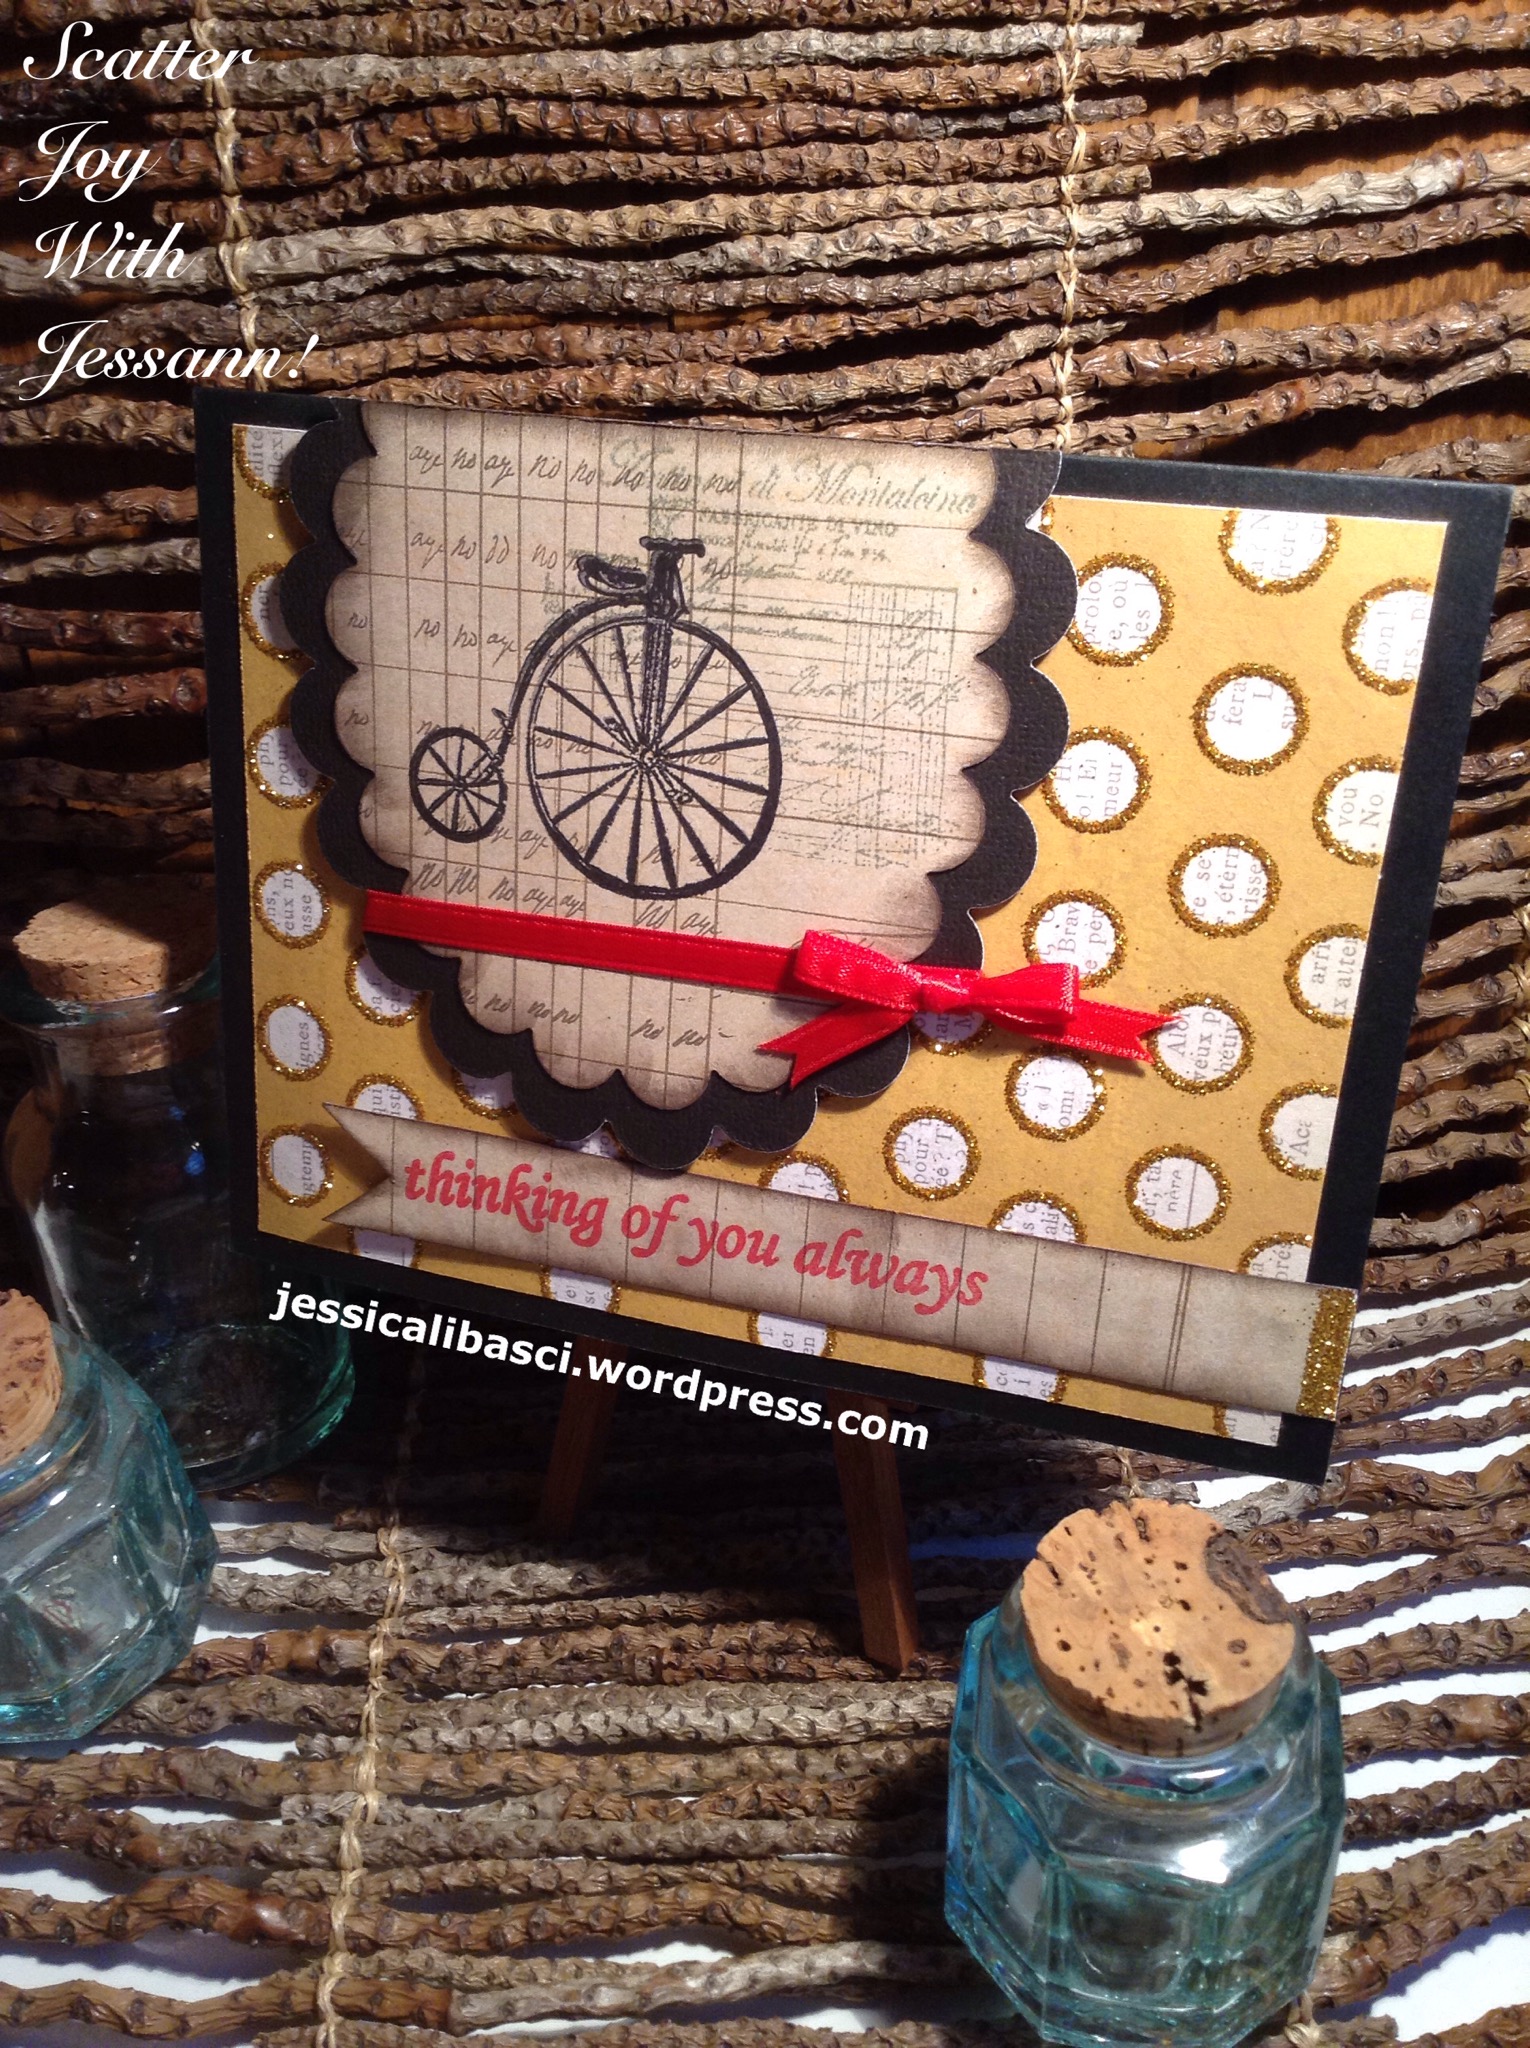
Here are two cards I have made so far. I had enough cut pieces to create eight cards but haven’t finished them all yet.

IMG_0783.JPG

IMG_0784.JPG

Hope you are inspired with today’s post! We had a snow day today so I was able to get a lot of projects started… See you here soon with the finished projects!
Smile Jesus loves you and I do too! Don’t forget to scatter joy with everyone you see!

Frozen Birthday Decorations – Blast from the Past Project

This was a fun project from the past! Frozen party decorations that I made for a friends daughters birthday.

IMG_0577.PNG
Snowflakes to hang from the ceiling and snowflake table decorations

IMG_0578.PNG

IMG_0579.PNG
Pin the nose on Olaf! I drew him and cut him out.

IMG_0580.PNG
Door sign for the party entrance

IMG_0581.PNG
Refreshment labels

IMG_0582.PNG

IMG_0584.PNG

IMG_0583.PNG
Birthday banners

Hope you enjoyed this blast from the past project! Please let me know if I can help you design something fun for your child’s birthday!

Don’t forget to scatter joy! Jesus loves you I do too!

Altered Altoid Challenge – Blast from the Past Project

Sometime back I entered an altered Altoid contest. I feel like it is very important when deciding upon a design to consider what the use would be for a creation. I feel like the Lord expects me to be a good steward of my time and if I am going to create something I need to consider what purpose it should have and who it would benefit. Most of my creations either serve a purpose for me or I want to use them as a blessing to someone else.
For this particular challenge I needed to alter an Altoid tin using mostly Close to my heart products. I decided to use some pictures of my great grandmother to create a gift for my mother. I decorated the inside of the tin, front and back, and created a base. Here is what I came up with. My mother has been enjoying this project, it sits on a shelf at her house next to one she created for her mother, my grandmother with a picture of my grandmother and grandfather. Thanks for taking the time to look. I was cleaning out some past pictures and wanted the share some past projects.

IMG_0993.JPG

IMG_0997.JPG
Base front and back

IMG_0996.JPG

IMG_1146.JPG
The back of the tin

IMG_0998.JPG

IMG_1147.JPG
Inside the tin

IMG_1145.JPG
The cover of the tin

Hope you enjoyed the blast from the past project! Have a blessed day!
Smile Jesus loves you, I do too! Don’t forget to scatter joy today!

Planner Zipper Pouch

I picked up a three ring binder zipper pouch from the dollar tree and turned it into a pouch for my happy planner! The happy planner doesn’t have the three ring binder rings. It has a wonderfully unique binding ring system!

IMG_0626.JPG

I carefully cut off the the “three ring” part of the zipper pouch. The zipper pouch I chose was plastic/vinyl type and I cut it right at the sealed area.

IMG_0625.JPG

Once I cut off the three ring area, I lined up the holes using a sheet of my happy planner paper. Making sure to carefully place the pouch exactly how I want It to lay on my planner. It is a tiny bit longer so I needed to line it up perfect. Then used the sheet of happy planner paper to mark where I wanted to make the holes.

IMG_0629.JPG

After you mark the holes you use a hole punch to make the holes. Then you use your scissors to cut two small slits up to the hole. Be careful not to cut your slits too wide the slits are what keeps your pouch on the binder rings.

I messed up the first one I did because I didn’t realize the size difference and although just a small difference it made me unhappy so one of my zipper pouches is messed up. I’m not trashing it… I have hope that I can fix it!

IMG_0631.JPG

I really am happy with the way it turned out! And it went right on my binder rings. I chose to put my pouch on the front of my planner.

IMG_0619.JPG

I placed my planner pens in my pouch….

IMG_0618.JPG

I used my handy dandy head band/planner band to secure my planner….

IMG_0617.JPG
Tada! All done! I love it love it love it and it makes me happy to know I spent only one dollar!

Hope you enjoyed today’s creation! Love y’all! Stay warm! smile! Jesus loves you and I do too!

Dollar Tree Haul!

I’ve had a snow day the last two days. Yesterday I was able to get out and about and since I am working on a tight budget I decided to shop at the dollar tree! This is what I picked up…

IMG_0608.JPG

I bought
*orange folder (in hopes of creating a pocket folder page on one side and post it dashboard on the other side.)
*orange three hole zipper pouch (in hopes to create a zipper pouch for my planner)
*headbands (a simple solution to keeping my planner closed and safe while tucked away in my purse)
*stickers (for special days! I chose birthday themed and emoticon smileys)
*paper clips (pretty them up with ribbon for some special planner markers)
*post its (hopefully to create an awesome easy to access post it page)

My biggest goal in including my planner goodies on my blog is to show you what can be done with very little money. As you all well know I like to use items from my stash. If I have to buy something for my planner I want it to be affordable. Where we live there is no Michaels, no Hobby Lobby, no AC Moore, no target dollar stop… We have Walmart and dollar tree. So I want to give a vision for others who are like me. I bought my happy planner because it was half price on MAMBI. Otherwise I would’ve created a planner from a dollar store calendar. Hope y’all enjoy these posts, I can’t wait for you to see things as I finish them!

Have a blessed day! Smile! Jesus loves you… I do too!

Fun Valentine Gifts!

When considering your valentine gifts this year… Think outside the chocolate box! Last year I created these fun lip balm valentines for a couple special preschool teachers. Pinterest has a ton of wonderful and unique Valentine ideas. Start searching!

IMG_0586.PNG

IMG_0585.PNG

Planning using supplies from your stash

Today we worked on planning for the month of February. I find it so much easier to create a month in advance layout. My goal is to use supplies from my stash and I love the “patchwork” look of combining a variety of coordinating papers to my spreads. I also added some cute animal stickers and Valentine stickers that I have had for some time. The papers I chose were random 6×6 loose papers that were leftover from another project. February is my special month! Both my birthday, my husbands birthday, our anniversary and of course Valentine’s Day make it a wonderful month if love! Here are my February pages before pen and a few last touches.

Monthly layout

IMG_0572.JPG

Sample weekly spreads

IMG_0574.JPG

IMG_0576.JPG

IMG_0575.JPG

Hope you like my pages… Keep looking for some finished pages after pen. I’m off for bedtime! Be blessed! Don’t forget to smile because Jesus loves you and I do too!

Planning to plan!

This year I have ventured on a new of planning! I chose the create 365 MAMBI happy planner! I would like to share some pictures of my first months lay out. Since I am completely new to planning I didn’t do much, just applied my paper crafting to my planner with cutting paper to fit the planner squares. Many people choose to create there weekly spread the weekend before the new week. I don’t have that kind of time each week and unfortunately it would never get done that way… So I decided to set aside a time once a month to create my month at a glance and weekly spreads.
Here is my monthly spread.

IMG_0560.PNG
This is a sample of one of my weekly spreads before pen.

IMG_0562.PNG
Tomorrow we work on February and I will take some pictures of January so far.

Be blessed. Jesus loves you… I do too!

Happy New Year!!! A year for crafting!

It seems so sad to me that I blinked and almost a full year has gone through. My last post was last February! So much happened last year….
In March we charged our lifestyles tremendously and became a free home! We would still be completely chemical free except during the summer months my husband works too hard so our homemade detergent and our natural deodorants weren’t enough. We now use deodorants and detergents that have some of least amounts of chemicals. I suppose you could say the better of the evils.
This huge change helped tremendously. Instead of my usual six to ten rounds or antibiotics through the year I had to take them once! I’m so thankful we have made these changes in our lives getting rid of the bad and gaining the good. I’m so thankful the Lord allowed healing in our lives.
I also completed some more education… I know I know I really need to take that last math class. I JUST CANT DO IT!
We had several life altering “almost” opportunities for adopting a baby, of which one changed my life, definitely changed my craft room that I sold half the contents to make room for a child. But you know the Lord allowed me to learn so much and I know He has great plans for our future.

To start this year off right I wanted to post some things that didn’t get posted last year. Praying y’all have a blessed year and scatter joy each day!

IMG_3185.JPG

IMG_3225.JPG

IMG_3262.JPG

IMG_3228.JPG

IMG_3301.JPG

IMG_6341.JPG

IMG_3382.JPG

IMG_6234.JPG

IMG_6869.JPG

IMG_6465.JPG

IMG_6870.JPG

IMG_6873.JPG

IMG_7477.JPG

IMG_7964.JPG

IMG_7225.JPG

IMG_7972.JPG

IMG_8091.JPG

IMG_8688.JPG

IMG_8151.JPG

IMG_8292.JPG
More to come!!

Fall 2014 Craft Show

In October 2014, I did my first craft show with my paper crafts. In the past I have had very successful shows at the John C. Campbell Folk School featuring beaded jewelry that I created. In 2006, 2007 and 2008 my sales at this craft show were over $1000. The craft show we did in the fall was at the local fair grounds, it wasn’t well hosted or advertised, but we had a good time. Here are a few pictures of our booth and the items for sale.

IMG_5813.JPG

IMG_5814.JPG

IMG_5812.JPG

IMG_5810.JPG

IMG_5827.JPG

IMG_5826.JPG

IMG_5824.JPG

IMG_5829.JPG

IMG_5825.JPG

IMG_5828.JPG

IMG_5741.JPG